How to Install and Configure SonarQube 8 on Ubuntu 18.04
Introduction:
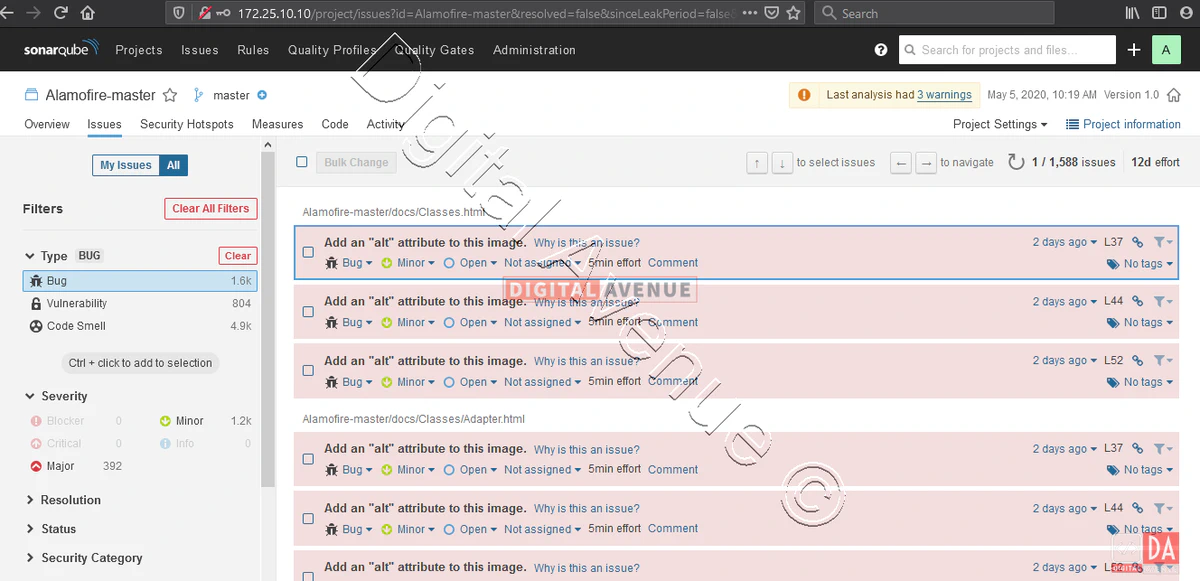
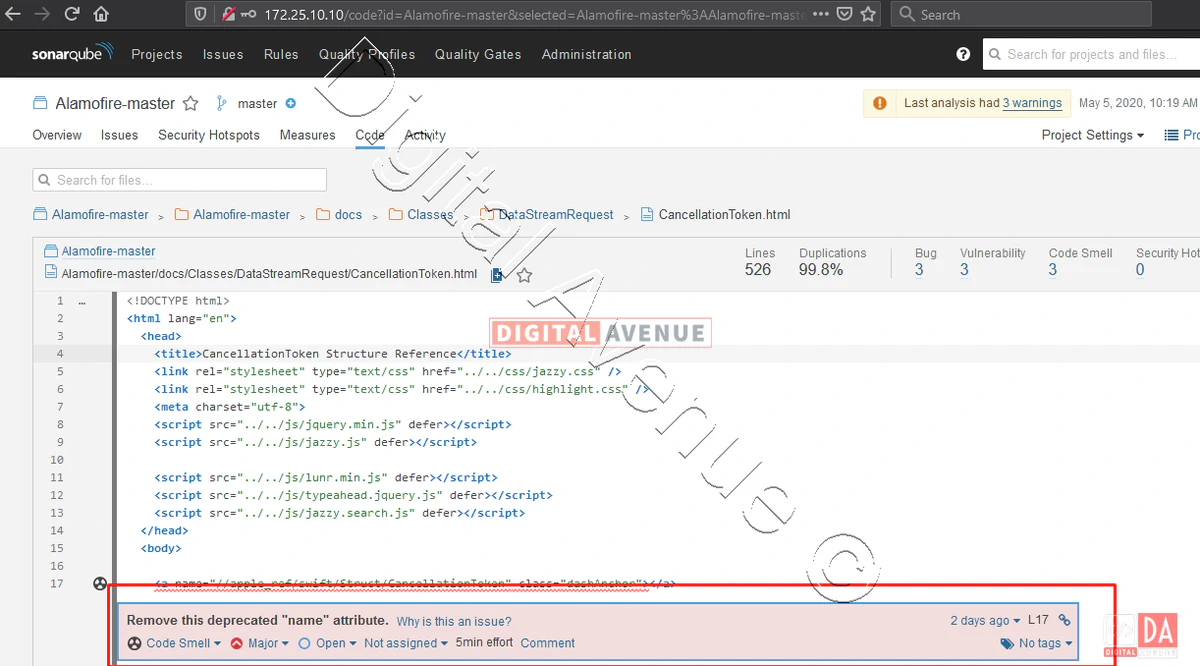
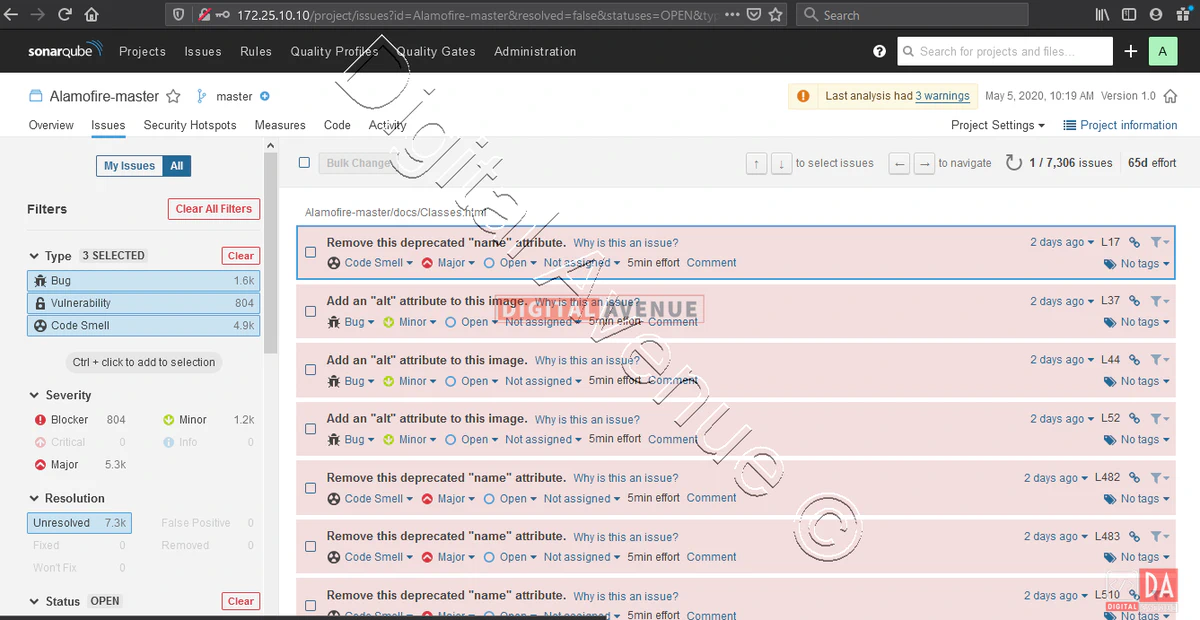
SonarQube is an open-source tool that can be used to analyze the quality of the source code. It can detect your code bugs, vulnerabilities, security black holes, and code smells. SonarQube empowers you to write cleaner and safer codes without breaking standards and code methodologies.
SonarQube is bundled with a static code analyzer for more than 27 programming languages. SonarQube performs continues code inspection using thousands of automated static code analysis rules.
We can perform code analysis manually or integrate with CICD DevOps tools such as Jenkins, Azure DevOps and Bamboo.
And, also you can integrate SonarQube with your IDE tools such as Visual Studio and Eclipse.
SonarQube provides code reliability by preventing bugs and application security by fixing vulnerabilities that compromise your code.
SonarQube is an open-source platform. Which uses for static code analysis and continuous inspection of code quality. SonarQube can detect bugs, code smells and security vulnerabilities.SonarQube empowers developers to write cleaner and safer code.
SonarQube provides code reliability by preventing bugs and application security by fixing vulnerabilities that compromise your code.
SonarQube can integrate with CI/CD tools such as Jenkins, Azure DevOps, GitHub, GitLab, Bitbucket and many more.
Features:
Build Integration - Jenkins, Azure DevOps, Bamboo, etc…
IDE Integration - Visual Studio, Eclips, InteliJ, etc…
Other Pipeline Integration
Prerequisites:
OS - Ubuntu 18.04 / 16.04 LTS / Debian
RAM - 4GB Minimum RAM
CPU - 1vCPU
JAVA - Oracle JRE 11 or OpenJDK 11
NOTE: Please make sure to install a compatible Java version before continuing the installation.
REF: https://docs.sonarqube.org/latest/requirements/requirements/
In this tutorial, I will be going to install SonarQube Community Edition v8.3 on Ubuntu 18.04. Which required OpenJDK 11 packages to be installed on the system.
SonarQube 8.3 OpenJDK 11 PostgreSQL 12
STEP 01: Set kernel Parameters and System Limits
First of all, we need to perform some OS-level modifications to “Kernel Parameters” and “System limits.”
Append these entries to the bottom of the “sysctl.conf” file.
sudo vim /etc/sysctl.conf
vm.max_map_count=262144
fs.file-max=65536
ulimit -n 65536
ulimit -u 4096
And, also append these entries at the end of the “limits.conf” file.
sudo vim /etc/security/limits.conf
sonarqube   -   nofile   65536
sonarqube   -   nproc    4096
Make sure to reboot systems once the above changes made. Therefore New changes will reflect after the reboot.
STEP 02: Install OpenJDK 11
Download and Install JDK 11 APT Repositories
Now, It’s time to install java on your system. Don’t forget to install a compatible Java version with your SonarQube version.
First, perform a system update.
sudo apt-get update -y
Then, Install OpenJDK 11
sudo apt-get install openjdk-11-jdk -y
Set Default JDK Version
Then, You need to set the newly installed Java version as your default Java version.
sudo update-alternatives --config java
Verify Install Java Version
java -version
STEP 02: Install and Configure PostgreSQL Database for SonarQube
In this tutorial, I’m using PostgreSQL as my database engine. You also can use other compatible DB such as MySQL or Oracle.
It’s always better to check the version compatibility matrix, which recommends by SonarQube developers.
REF: https://docs.sonarqube.org/latest/requirements/requirements/
Let’s do a system update again.
sudo apt update
Import Trusted PGP Key and PostgreSQL APT Repo
Then, Install a trusted GPG key on your system. And create a repository file for PostgreSQL.
wget -q https://www.postgresql.org/media/keys/ACCC4CF8.asc -O - | sudo apt-key add -

sudo sh -c 'echo "deb http://apt.postgresql.org/pub/repos/apt/ `lsb_release -cs`-pgdg main" >> /etc/apt/sources.list.d/pgdg.list'
Install PostgreSQL
Let’s install PostgreSQL on your system.
sudo apt install postgresql postgresql-contrib
Check PostgreSQL Version
sudo -u postgres psql -c "SELECT version();"
Enable and Start PostgreSQL Service
Enable and start service to be able to start at the system boots up.
sudo systemctl enable postgresql. service

sudo systemctl start  postgresql. service
Change PostgreSQL default user password
Change default PostgreSQL password and set a new password.
sudo passwd postgres
Switch to PostgreSQL User
Now, Switch into “postgres” user.
su - postgres
Create New User “sonar”
Create a new database user named “sonar”.
createuser sonar
Log Into PostgreSQL Shell
Now, log in to the PostgreSQL database shell.
psql
Set Password for SonarQube Database User “sonar”
And, Then set a password for the database user “sonar”
ALTER USER sonar WITH ENCRYPTED PASSWORD 'p@ssw0rd';
Create New Database “sonarqube”
Create a new database named “sonarqube.”
CREATE DATABASE sonarqube OWNER sonar;
Grant Privileges to “sonar” User on “sonarqube” Database
Now, Grant all privileges to that user and database.
GRANT ALL PRIVILEGES ON DATABASE sonarqube to sonar;
Exit From PostgreSQL Shell
q
Exit From “postgres” User
exit
Restart and recheck PostgreSQL DB Service Status
Enable PostgreSQL service to be able to start automatically at systems boots-up.
systemctl restart  postgresql
systemctl status -l   postgresql
Now Check whether PostgreSQL is listing on default port “5432”
netstat -tulpena | grep postgres
STEP 03: Download and Install SonarQube
Now, It’s time to download the SonarQube binary archive file and extract it on our installation directory.
Download SonarQube Archive File
REF: https://binaries.sonarsource.com/Distribution/sonarqube/
Now, Let’s create a temporary directory and download the SonarQube archive file.
sudo mkdir /sonarqube/

cd /sonarqube/
sudo curl -O https://binaries.sonarsource.com/Distribution/sonarqube/sonarqube-8.3.0.34182.zip
Additionally, you may need to install the “zip” apt package if not available in your system.
sudo apt-get install zip
Extract your downloaded archive into /opt/ directory.
sudo unzip sonarqube-8.3.0.34182.zip -d /opt/
Move Extracted setup into /opt/sonarqube/ directory
sudo mv /opt/sonarqube-8.3.0.34182/ /opt/sonarqube
STEP 04: Create Group and User for SonarQube
Now, We need to create a system user and group for the SonarQube service.
Create a group named “sonar”
First, create a system group named “sonar.”
sudo groupadd sonar
Create a user named “sonar” and into the “sonar” group with directory access
Then, create a user and add the user into the group with directory permission to the /opt/ directory.
sudo useradd -c "SonarQube - User" -d /opt/sonarqube/ -g sonar sonar
Provide user and group directory ownership to “/opt/sonarqube/”****
sudo chown sonar:sonar /opt/sonarqube/ -R
STEP 05: Configure SonarQube
Now, Let’s head over to the “sonar.properties” configuration file and do the following changes.
sudo vim /opt/sonarqube/conf/sonar.properties
UnComment and type PostgreSQL database username and password that we’ve created at the previous step.
Now, We need to point our PostgreSQL database to the SonarQube service. We are using “localhost” as a DB host since we’ve installed PostgreSQL on the same server.
Un-comment these lines and modify them as necessary.
sonar.jdbc.username=sonar
sonar.jdbc.password=p@ssw0rd
sonar.jdbc.url=jdbc:postgresql://localhost/sonarqube
sonar.search.javaOpts=-Xmx512m -Xms512m -XX:+HeapDumpOnOutOfMemoryError
########### OPTIONAL USE ONLY #############
sonar.jdbc.username=sonar
sonar.jdbc.password=sonar
sonar.jdbc.url=jdbc:postgresql://localhost/sonarqube
sonar.web.host=127.0.0.1
sonar.web.port=9000
sonar.web.javaAdditionalOpts=-server
sonar.search.javaOpts=-Xmx512m -Xms512m -XX:+HeapDumpOnOutOfMemoryError
sonar.log.level=INFO
sonar.path.logs=logs
###########################################
STEP 06: Configure Systemd Service For SonarQube
Now, Create a startup script for the SonarQube service that starts at system boots.
Create a systemd service file for SonarQube to be run at system startup.
vim /etc/systemd/system/sonarqube.service
Add this content into the “sonarqube.service” file.
[Unit]
Description=SonarQube service
After=syslog.target network.target

[Service]
Type=forking

ExecStart=/opt/sonarqube/bin/linux-x86-64/sonar.sh start
ExecStop=/opt/sonarqube/bin/linux-x86-64/sonar.sh stop

User=sonar
Group=sonar
Restart=always

LimitNOFILE=65536
LimitNPROC=4096


[Install]
WantedBy=multi-user.target
Enable and Start SonarQube Service
systemctl daemon-reload
systemctl enable sonarqube. service
systemctl start sonarqube. service
systemctl status -l sonarqube. service
After sometime later, Check whether the port is listening.
netstat -tulpena | grep 9000
STEP 07: Configure NGINX Reverse Proxy For SonarQube
Install NGINX Package
Now we need to expose our SonarQube server outside as it is listening only on localhost. Therefore we are creating an Nginx reverse proxy to redirect outside traffic into the SonarQube.
apt-get install nginx -y
Goto /etc/nginx/nginx.conf and un-comment these two lines
vim /etc/nginx/nginx.conf
include /etc/nginx/conf.d/*.conf;
include /etc/nginx/sites-enabled/*;
Create NGINX Configuration File For SonarQube
Create a reverse proxy configuration file
sudo vim /etc/nginx/sites-enabled/sonarqube.conf
Copy and paste this virtual-host server block and change the “server_name” entry as you required.
server{
    listen      80;
    server_name sonarqube.da.com;

    access_log  /var/log/nginx/sonar.access.log;
    error_log   /var/log/nginx/sonar.error.log;

    proxy_buffers 16 64k;
    proxy_buffer_size 128k;

    location / {
        proxy_pass  http://127.0.0.1:9000;
        proxy_next_upstream error timeout invalid_header http_500 http_502 http_503 http_504;
        proxy_redirect off;

        proxy_set_header    Host            $host;
        proxy_set_header    X-Real-IP       $remote_addr;
        proxy_set_header    X-Forwarded-For $proxy_add_x_forwarded_for;
        proxy_set_header    X-Forwarded-Proto http;
    }
}
Check NGINX configurations
nginx -t
Enable and Restart Nginx Service
systemctl enable nginx.service
systemctl restart nginx.service
systemctl status -l  nginx.service
Check whether port 80 listenings for connections
netstat -tulpena | grep 80
STEP 08: Firewall Configuration
Allow TCP ports 9000, 9001, 80 through the firewall
sudo ufw allow 80,9000,9001/tcp

sudo ufw status
STEP 09: Access SonarQube Through Web Browser
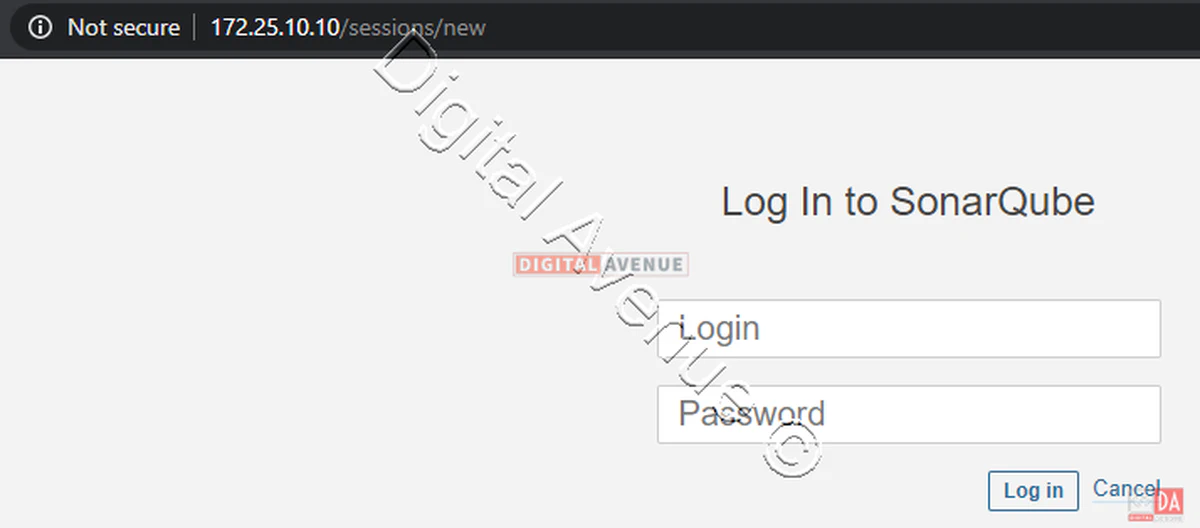
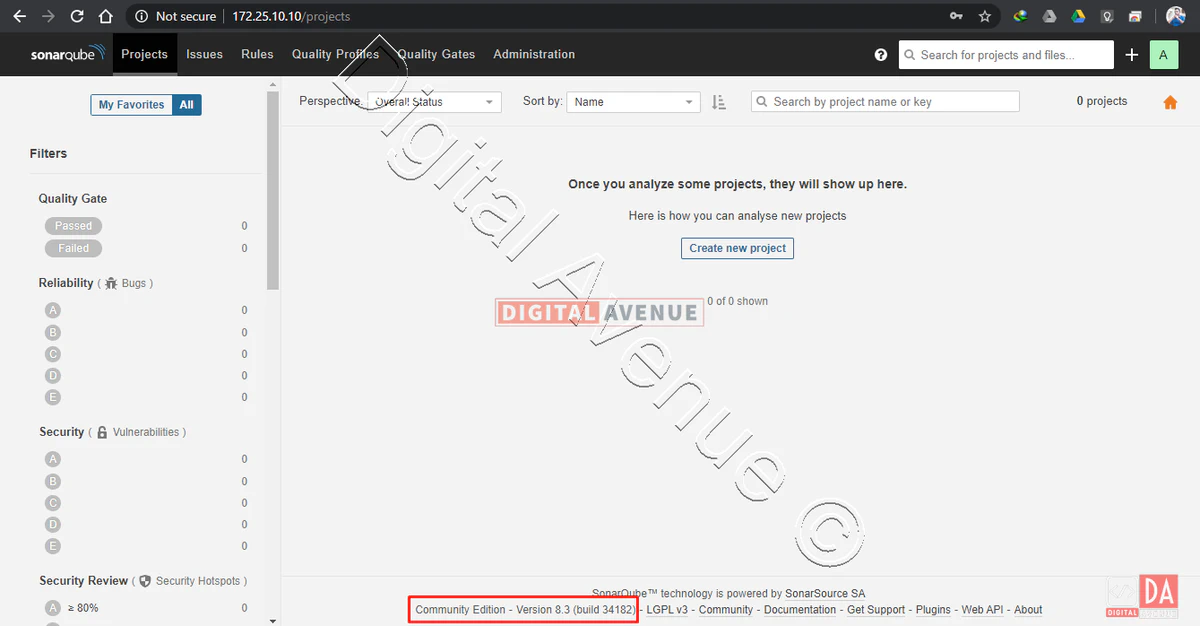
Now, SonarQube installation and configuration has been completed. It’s time to access the web console through the web browser.
Provide the default administrator account username and password as admin/admin
Default Username: admin
Default Password: admin
http://172.25.10.10/ OR http://YOUR-SERVER-IP
Torubleshooting TIPS
Sometime SonaqQube will not start as we expected. Most of the time, the reason is related to elasticsearch service. SonarQube uses elasticsearch as it’s indexing engine. So, We may need to troubleshoot elasticsearch as well.
Here are some troubleshooting tips:
SonarQube stores its service logs under “/opt/sonarqube/logs” directory. You may need those log files in case of troubleshooting purpose.
Troubleshooting Tips: Log Paths
/opt/sonarqube/logs/es.log
/opt/sonarqube/logs/sonar.log
/opt/sonarqube/logs/web.log
Troubleshooting Tips: JVM OPTION and HEAP MEMORY ISSUES
Additionally, you may be required to modify some entries related to elasticsearch and JVM options, Therefore SonarQube using elastciseach and JVM options. The reason is our system’s HEAP MEMORY will not be compatible with the JVM configurations.
If your sonarqube service not starting or keep restarting, check the following log file.
tail -f /opt/sonarqube/logs/es.log
tail -f /opt/sonarqube/logs/sonar.log
tail -f /opt/sonarqube/logs/access.log
And check port number 9000 or 9001 listing on localhost.
If not, your JVM.OPTION may not be compatible with your physical RAM amount. Then, You need to define the matching JAVA HEAP Memory size for your host machine.
vim /opt/sonarqube/elasticsearch/config/jvm.options
# Xms represents the initial size of total heap space
# Xmx represents the maximum size of total heap space

-Xms1g
-Xmx1g
You may need to adjust your HEAP MEMORY according to your physical usable memory size.
/opt/sonarqube/elasticsearch/config/elasticsearch.yml
/opt/sonarqube/elasticsearch/config/log4j2.properties
SonarQube initial configuration has been completed. In the next tutorial, I will show you how to integrate and analyze your project code on SonarQube with the Jenkins server and GitLab. And analysis of code deployments real-time.
If you need further clarification, please ask in the YouTube video comment section.
Deploy Production Grade Kubernetes Cluster on Azure AKS
Introduction This tutorial is intended to demonstrate how to setup your 1st Kubernetes cluster on Azure Kubernetes Services (AKS). This tutorial will cover up all the steps that you need to setup complete AKS cluster.
Getting Started With Docker - Quick Start Guide
Getting Started With Docker - Quick Start Guide Docker Engine Platform as a Service (PaaS) Cloud platform service. Allows you to manage its application and data.
How To Run Microsoft SQL Server On Kubernetes - Azure Kubernetes Service
Prerequisites: Azure CLI https://docs.microsoft.com/en-us/cli/azure/install-azure-cli 1. Run the Azure CLI with the az command. 1.1 Run the login command. az login Login in the browser with the azure account.
