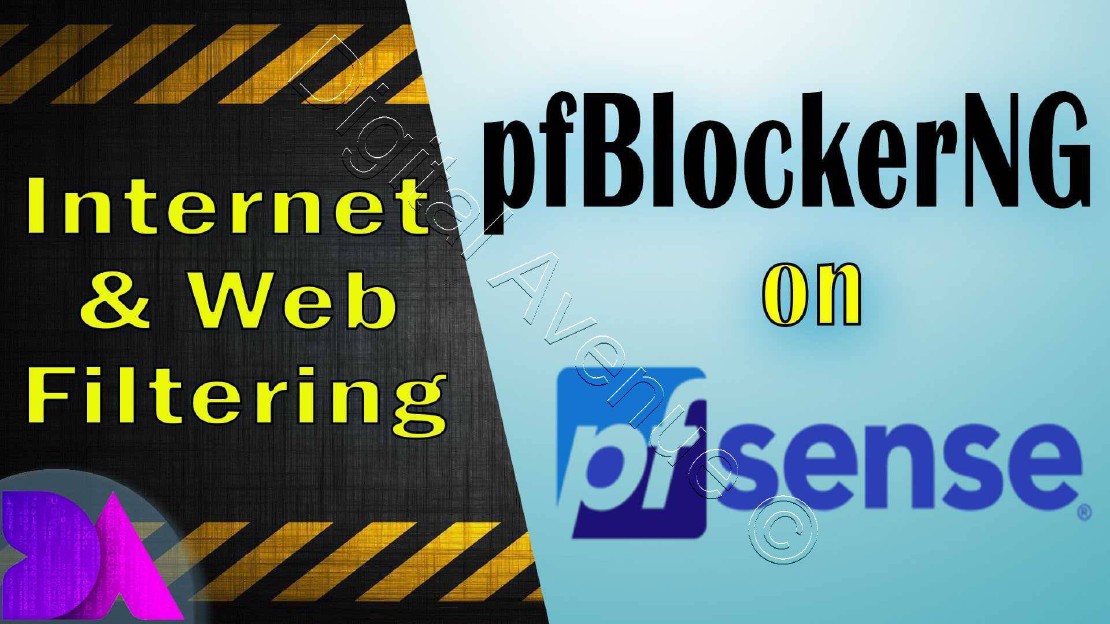
Internet Content Filtering and Site Blocking Using pfBlockerNG on pfSense
pfBlockerNG extends the capability of the pfSense firewall and beyond the traditional state full firewall. pfBlockerNG provides the ability to pfSense firewall to make allow/deny decisions based upon items such as Geo-location, IP address, Alexa rating and the domain name.
In this guide, I will walk you through the configuration of pfBlockerNG on offence as a domain and content filter.
Web Site Filtering using pfBlocker using pfSense:
Filtering Content with DNS:
SquidGuard doesn’t work properly with mobile phone and IoT devices. Because Squid can’t do the man in the middle, most sites moved into SSL encryption. Because most site using encrypted SSL encryption. That’s why Squid can’t do the man in the middle and filter some websites.
Requirements:
pfSense should be the default DNS server that pointed to the client’s hosts.

- Create Two Firewall Rules For DNS

STEP 01: Install pfBlockerNG Package
First of all, you need to install the package on the pfSense appliance. Once logged in to the main pfSense page, click on the “System” drop-down and then select “Package Manager”.
Now head over to System > Package Manager > Available Packages.

Once the ‘Available Packages’ page loads, type ‘pfBlocker’ into the ‘Search term’ box and click the ‘Search’. The first item that is returned should be pfBlockerNG. Locate the ‘Install’ button to the right of the pfBlockerNG description and click the ‘+’ to install the package.

The page will reload, then continue the installation by clicking “Confirm”.
In the Search section, fill the following fields:
Search terms: Type pfBlockerNG
Click on the Search button.
In the Packages section, the pfBlockerNG will appear.
Click on + Install and then on Confirm buttons to launch the installation.

Once the installation is completed, pfBlockerNG appears in System > Package Manager > Installed Packages.
Now, the pfBlockerNG configuration can begin. Before that, we need to reconfigure our pfSense DNS resolver according to our requirement, which needs to redirect DNS requests in order to filter out bad domains. This means clients on the LAN interface need to use the pfSense as the default and primary DNS resolver.
STEP 02: Configure DNS Resolver
Now, head over to “Services” and select “DNS Resolver” from the drop-down menu.


Enable DNS Resolver
Set the listening port 53
Ingress Network interface should be LAN & localhost
Egress Outgoing Network Interface should be WAN interfaces
Finally, hit “Save” & “Apply Changes”.
STEP 03: Configure pfBlockerNG - General Settings
The next step is the configuration of pfBlocker specifically.
Head over to the general tab do the following changes.
Let’s move to Firewall > pfBlockerNG > General.

In General Settings section, fill the following fields:

- Enable pfBlockerNG: Checked
- Keep Settings: Checked
- Cron Settings: Select Every hour, select 0 as a minute, hour and Daily/Weekly
Move down a bit further.
In the Interface/Rules Configuration section, fill the following fields:
- Inbound Firewall Rules: Select WAN interfaces and Block
- Outbound Firewall Rules: Select LAN interfaces and Reject

The rest of the other settings leave as it is.
And click save.
STEP 04: Configure DNSBL
Now move to the DNSBL tab and do the following changes.
To configure DNSBL, go to Firewall > pfBlockerNG > DNSBL > DNSBL


In the DNSBL section, fill the following fields:
- Enable DNSBL: Checked
- Enable TLD: Not checked
- DNSBL Virtual IP: Enter an IP address that is not in your internal networks, something like 10.10.10.10
- DNSBL Listening Port: Enter 8081
- DNSBL SSL Listening Port: Enter 8443
- DNSBL Listening Interface: Select LAN or another internal interface to listen on
- DNSBL Firewall Rule: Checked if you have multiple LAN interfaces

In the DNSBL IP Firewall Rule Settings section, fill the following fields:
List Action: Select Deny Both
Enable Logging: Select Enable
In Advanced Inbound Firewall Rule Settings: Don’t change
In Advanced Outbound Firewall Rule Settings: Don’t change
In Alexa Whitelist: Don’t change
In Custom Domain Whitelist :

To begin, enter the following white-list domains and modify them as you like.
.play.google.com
.drive.google.com
.accounts.google.com
.www.google.com
.github.com
.outlook.live.com
.edge-live.outlook.office.com # CNAME for (outlook.live.com)
.outlook.ha-live.office365.com # CNAME for (outlook.live.com)
.outlook.ha.office365.com # CNAME for (outlook.live.com)
.outlook.ms-acdc.office.com # CNAME for (outlook.live.com)
.amazonaws.com
.login.live.com
.login.msa.akadns6.net # CNAME for (login.live.com)
.ipv4.login.msa.akadns6.net # CNAME for (login.live.com)
.mail.google.com
.googlemail.l.google.com # CNAME for (mail.google.com)
.pbs.twimg.com
.wildcard.twimg.com # CNAME for (pbs.twimg.com)
.sites.google.com
.www3.l.google.com # CNAME for (sites.google.com)
.docs.google.com
.mobile.free.fr
.plus.google.com
.samsungcloudsolution.net
.samsungelectronics.com
.icloud.com
.microsoft.com
.windows.com
.skype.com
.googleusercontent.com
- In TLD Exclusion List: Don’t change
- In TLD Blacklist: Don’t change
- In TLD Whitelist: Don’t change
Click on the Save button once all field is filling.
STEP 05: Configure DNSBL Feeds
To configure DNSBL feeds, go to Firewall > pfBlockerNG > DNSBL > DNSBL Feeds
Click on the + Add button.
Go to this URL and add preferred lists.
https://github.com/StevenBlack/hosts
In DNSBL Feeds section, fill the following fields:
- DNS GROUP Name: Enter DNSBlockListGroup
- Description: Enter DNS Blocklist
- DNSBL Settings – These are the actual lists
- State – Whether that source is used or not and how it is obtained
- Source – The link/source of the DNS Black List
- Header/Label – User choice; no special characters
- List Action – Set to Unbound
- Update Frequency – How often the list should be updated


You also can define custom blacklist domains. Now, save.

Next, head over to the “Update” tab.
Select “update” tick box and hit the run button.
Now, It will start to update the blacklist index.

Now, head over to “Status” tab and select “Services” from the drop-down menu.

Now, restart both dnsbl & unbound services.
STEP 05: Test Effectiveness by Browsing on Client Side.


Reference:
Here are the required resources to complete this tutorial:
My Website:
- https://digitalave.github.io/spring/2019/12/02/site_domain_filtering_using-pfblocker_on_pfsense.html
Steven’s Block List:
YouTube Black List:
3.https://raw.githubusercontent.com/digitalave/digitalave.github.io/master/Config/youtube
- Pi-Hole Black List:
https://github.com/pi-hole/pi-hole/wiki/Customising-sources-for-ad-lists
Deploy Production Grade Kubernetes Cluster on Azure AKS
Introduction This tutorial is intended to demonstrate how to setup your 1st Kubernetes cluster on Azure Kubernetes Services (AKS). This tutorial will cover up all the steps that you need to setup complete AKS cluster.
Getting Started With Docker - Quick Start Guide
Getting Started With Docker - Quick Start Guide Docker Engine Platform as a Service (PaaS) Cloud platform service. Allows you to manage its application and data.
How To Run Microsoft SQL Server On Kubernetes - Azure Kubernetes Service
Prerequisites: Azure CLI https://docs.microsoft.com/en-us/cli/azure/install-azure-cli 1. Run the Azure CLI with the az command. 1.1 Run the login command. az login Login in the browser with the azure account.