How to Install Zabbix Server 4.0 on CentOS 7
Introduction:
Zabbix is an open source monitoring solution which allows you to real-time monitor millions of matrices collected from thousands of servers, virtual machines and network devices.
Zabbix able to collect matrices from any devices, systems and applications using Zabbix agent, SNMP protocol and IPMI agents. Which can monitor Services, Hardware, Virtual Machines, Databases and Applications. Zabbix provides web interface with widget-based dashboards, graphs, network maps, slide shows.
Zabbix is a powerful open source monitoring solution used to monitor server applications, systems, Network devices, Hardware appliances, IoT devices.
Zabbix Server & Client Architecture
The server communicates with the native software agents which available for Linux, Windows operating systems.
Zabbix can communicate without an agent via Simple Network Management Protocol (SNMP) or Intelligent Platform Management Interface (IPMI)
Zabbix Server Depends on 3 Software Applications
Apache Web Server
PHP with required extensions
MySQL/MariaDB Database Server
Environment:
Hostname = zabbix.digitalavenue.com IP Address = 192.168.100.150 OS = CentOS 7 / RHEL 7
STEP 1: Configure Prerequisites
1. Install EPEL Release
[root@zabbix ~]# yum install https://dl.fedoraproject.org/pub/epel/epel-release-latest-7.noarch.rpm

2. Update an Operating System
3. Set Resolvable Hostname
4. Set SELINUX to Permissive Mode
[root@zabbix /]# vim /etc/selinux/config
SELINUX=permissive
[root@zabbix /]# reboot
STEP 02: Install Apache HTTPD Web Server
Install “httpd” yum package
[root@zabbix ~]# yum -y install httpd
Start and enable apache service on reboot
[root@zabbix ~]# systemctl enable httpd.service
[root@zabbix ~]# systemctl start httpd.service
Allow apache service through firewall
[root@zabbix ~]# firewall-cmd --permanent --add-service=http
[root@zabbix ~]# firewall-cmd --permanent --add-service=https
[root@zabbix ~]# firewall-cmd --reload
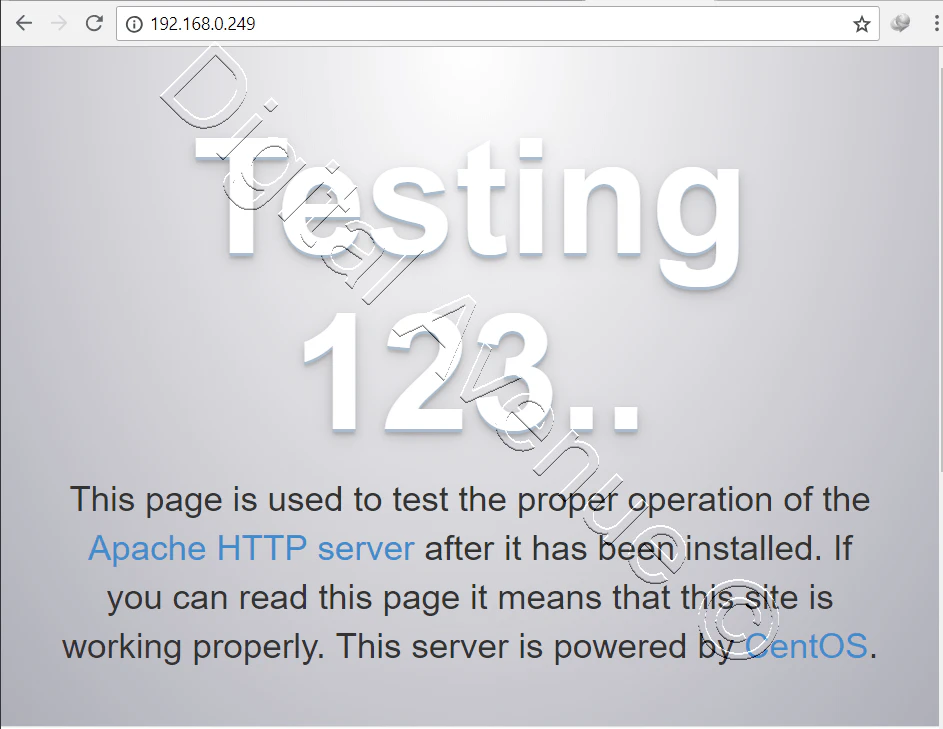
Test apache web service is up and running HTTP will start to listen on port 80
[root@zabbix ~]# netstat -tulpen | grep httpd

Access webpage through a web browser
http://your_server_ip_address/
STEP 03: Install and Configure PHP
Install PHP Dependencies for Zabbix Server
PHP used to gather matrices from MariaDB/Mysql database and process to display dynamic content via apache web server.
sudo yum -y install php php-pear php-cgi php-common php-mbstring php-snmp php-gd php-xml php-mysql php-gettext php-bcmath

Configure PHP:
[root@zabbix ~]# vim /etc/php.ini
max_execution_time = 600
max_input_time = 600
memory_limit = 1024M
post_max_size = 32M
upload_max_filesize = 32M
date.timezone = Asia/Colombo
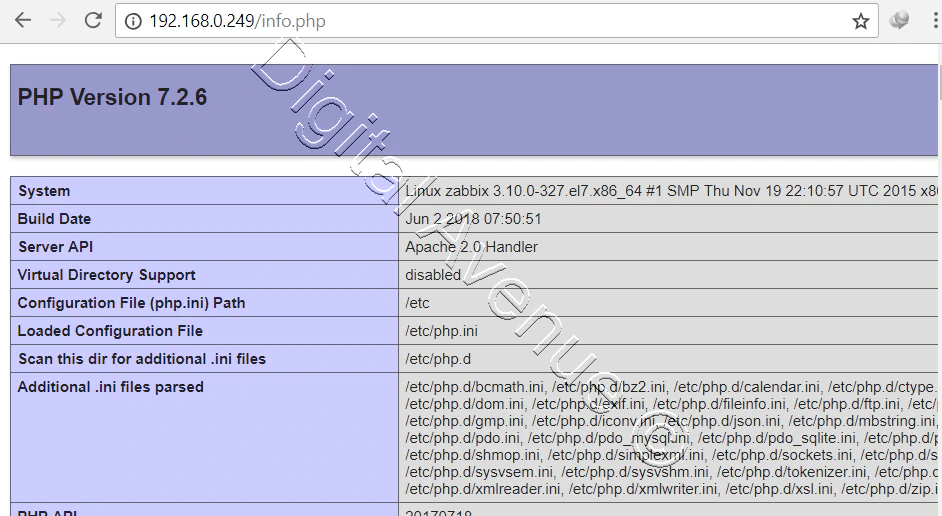
[root@zabbix ~]# vim /var/www/html/info.php
<?php phpinfo(); ?>
[root@zabbix ~]# systemctl restart httpd.service
Open web browser and access following web page. And you should see page like below.
http://your_server_IP_adress/info.php
STEP 04: Install MariaDB Database Server
Add MariaDB YUM repository to CentOS 7 server
Genarete Repositery using this URL:
# MariaDB 10.3 CentOS repository list - created 2019-04-01 15:07 UTC
# http://downloads.mariadb.org/mariadb/repositories/
[mariadb]
name = MariaDB
baseurl = http://yum.mariadb.org/10.3/centos7-amd64
gpgkey=https://yum.mariadb.org/RPM-GPG-KEY-MariaDB
gpgcheck=1
Run Following Commands optinally…
Install MariaDB
sudo yum -y install MariaDB-server MariaDB-client
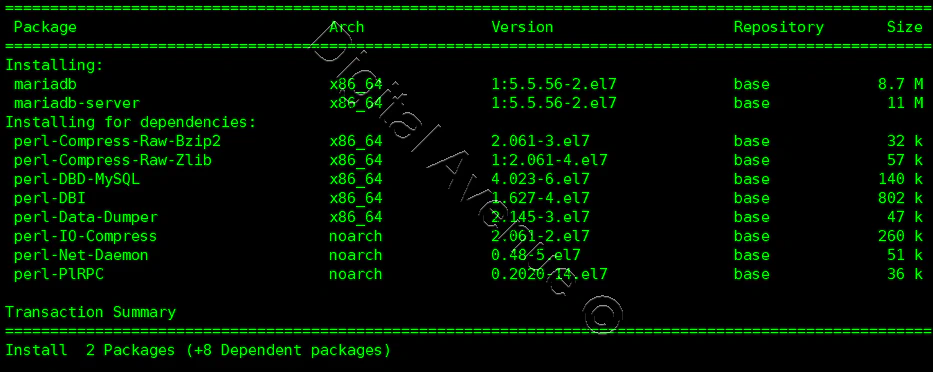
Start and enable Mariadb/MySQL service on reboot.
[root@zabbix ~]# systemctl start mariadb.service
[root@zabbix ~]# systemctl enable mariadb.service
Allow MariaDB/MySQL service through firewall.
[root@zabbix ~]# firewall-cmd --permanent --add-service=mysql
[root@zabbix ~]# firewall-cmd –reload
MariaDB Initial configuration:
[root@zabbix ~]# mysql_secure_installation
`Set root password? [Y/n] Y
New password:
Re-enter new password:
Remove anonymous users? [Y/n] Y
Disallow root login remotely? [Y/n] Y
Reload privilege tables now? [Y/n] Y`
Log into MariaDB Server:
[root@zabbix ~]# mysql -uroot -p
MariaDB [(none)]> select version();
+—————-+ | version() | +—————-+ | 10.4.3-MariaDB |
[root@zabbix ~]# mysql -V
mysql  Ver 15.1 Distrib 10.4.3-MariaDB, for Linux (x86_64) using readline 5.1
STEP 05: Create “zabbixdb” Database and “zabbixuser” User
Create a Zabbix user and Zabbix database for Zabbix Installation. In this case I have used “zabbixuser” as a user and “zabbixdb” as a database.
[root@zabbix ~]# mysql -uroot -p
Enter password:

MariaDB [(none)]> CREATE DATABASE zabbixdb CHARACTER SET UTF8 COLLATE UTF8_BIN;

MariaDB [(none)]> GRANT ALL PRIVILEGES ON zabbixdb.* to zabbixuser@'localhost' IDENTIFIED BY 'PASSWORD';

MariaDB [(none)]> GRANT ALL PRIVILEGES ON zabbixdb.* to zabbixuser@'%' IDENTIFIED BY 'PASSWORD';

MariaDB [(none)]> FLUSH PRIVILEGES;

MariaDB [(none)]> QUIT;


STEP 06: INSTALL ZABBIX 4.0
Import GPG-KEY
rpm --import http://repo.zabbix.com/RPM-GPG-KEY-ZABBIX
**Install zabbix-release repository**

rpm -ivh https://repo.zabbix.com/zabbix/4.0/rhel/7/x86_64/zabbix-release-4.0-1.el7.noarch.rpm

Install Zabbix Server
yum install zabbix-server-mysql zabbix-web-mysql zabbix-agent zabbix-get zabbix-sender zabbix-java-gateway -y

Import Zabbix Server Databas Schema
[root@zabbix ~]# zcat /usr/share/doc/zabbix-server-mysql-4.0.5/create.sql.gz | mysql -uzabbixuser -p zabbixdb
This may take while to import the database schema. Please wait….
STEP 07: CONFIGURE ZABBIX SERVER
Configure Zabbix Server Main Configuration File
[root@zabbix ~]# vim /etc/zabbix/zabbix_server.conf

## DATABASE NAME
DBName=zabbixdb

## DATABASE USERNAME
DBUser=zabbixuser

## DATABASE PASSWORD
DBPassword=PASSWORD
sudo systemctl restart httpd zabbix-server
sudo systemctl enable zabbix-server
SET ZABBIX SERVER NAME:
[root@zabbix ~]# vim /etc/httpd/conf/httpd.conf

ServerName zabbix.digitalavenue.com:80

ServerAdmin zabbix@digitalavenue.com
[root@zabbix ~]# systemctl restart httpd.service
CONFIGURE ZABBIX FRONTEND:
Apache configuration file forZabbix server located in
/etc/httpd/conf.d/zabbix.conf
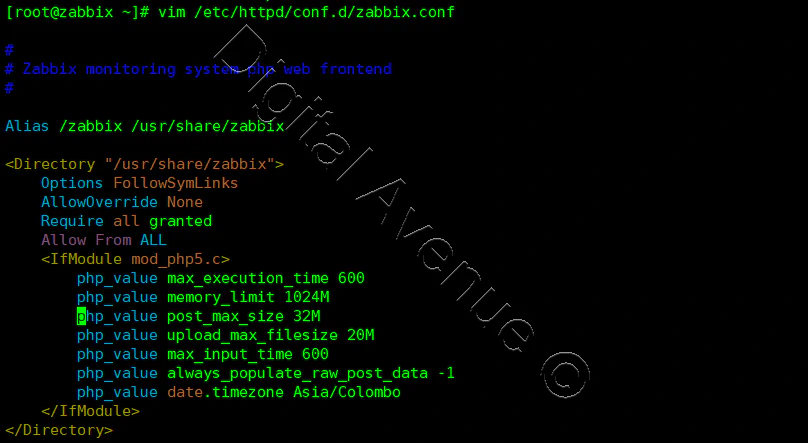
Some PHP settings have to be configured.
[root@zabbix ~]# vim /etc/httpd/conf.d/zabbix.conf
        php_value max_execution_time 600
        php_value memory_limit 1024M
        php_value post_max_size 32M
        php_value upload_max_filesize 32M
        php_value max_input_time 600
        php_value max_input_vars 10000
        php_value always_populate_raw_post_data -1
        php_value date.timezone Asia/Colombo
Allow MariaDB/MySQL service through firewall.
[root@zabbix ~]# firewall-cmd --permanent --add-port={10050/tcp,10051/tcp}
[root@zabbix ~]# firewall-cmd --reload
[root@zabbix ~]# systemctl restart httpd.service
Now, Zabbix Server Installation completed. Move onto you web browser and access Zabbix frontend and follow the on display guidelines.
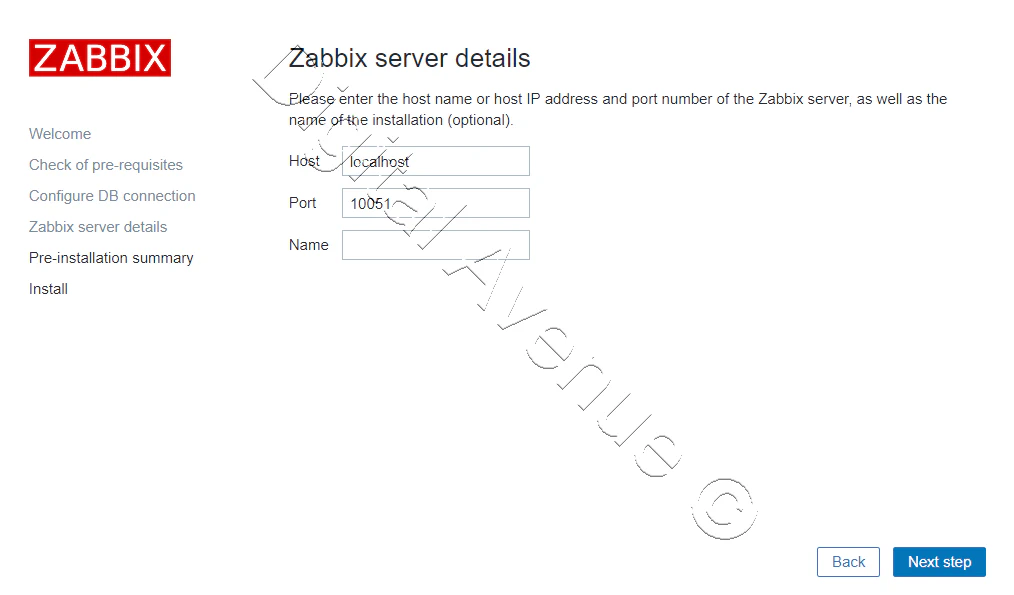
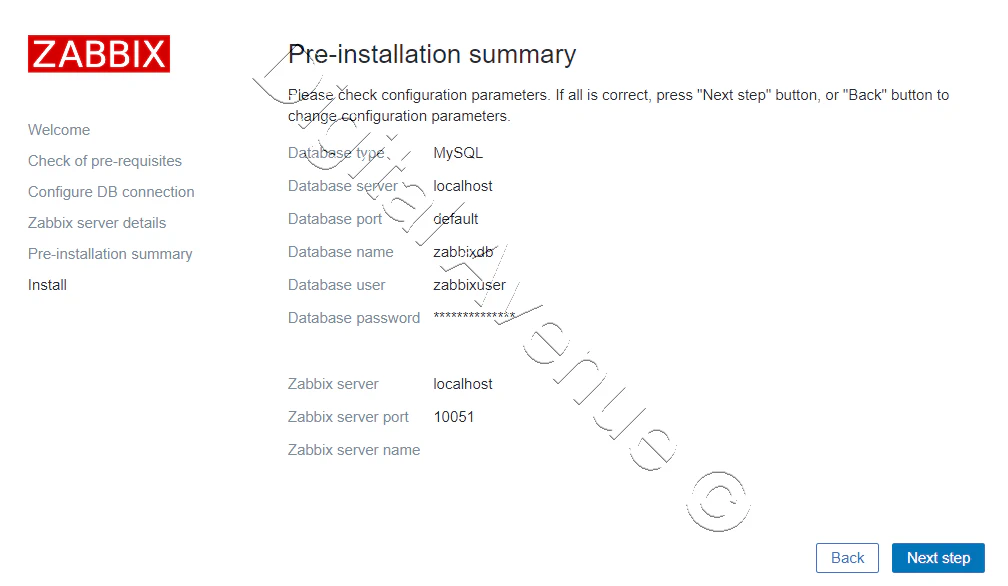
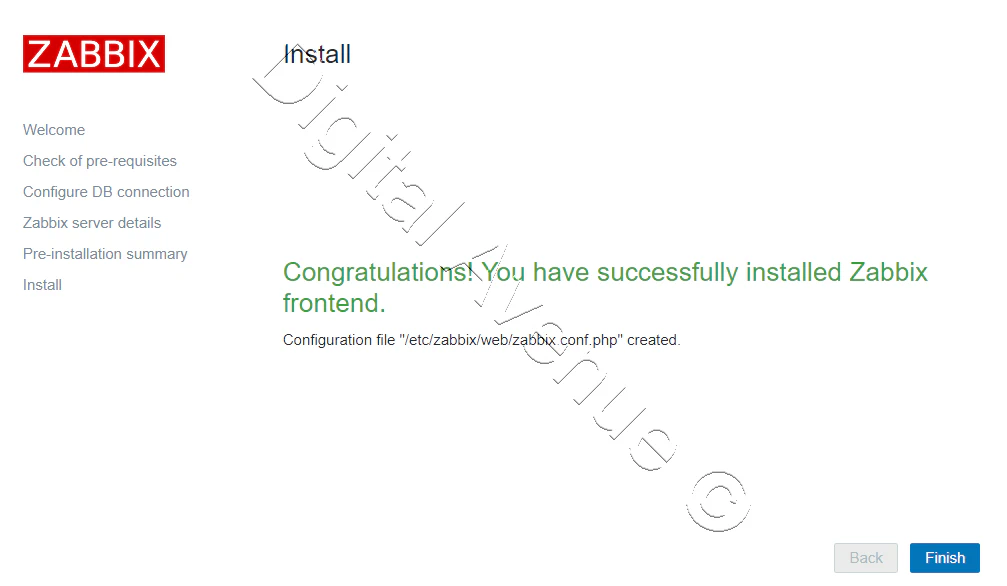
Access Zabbix URL using web browser. And follow the instruction as seen on installation wizard.
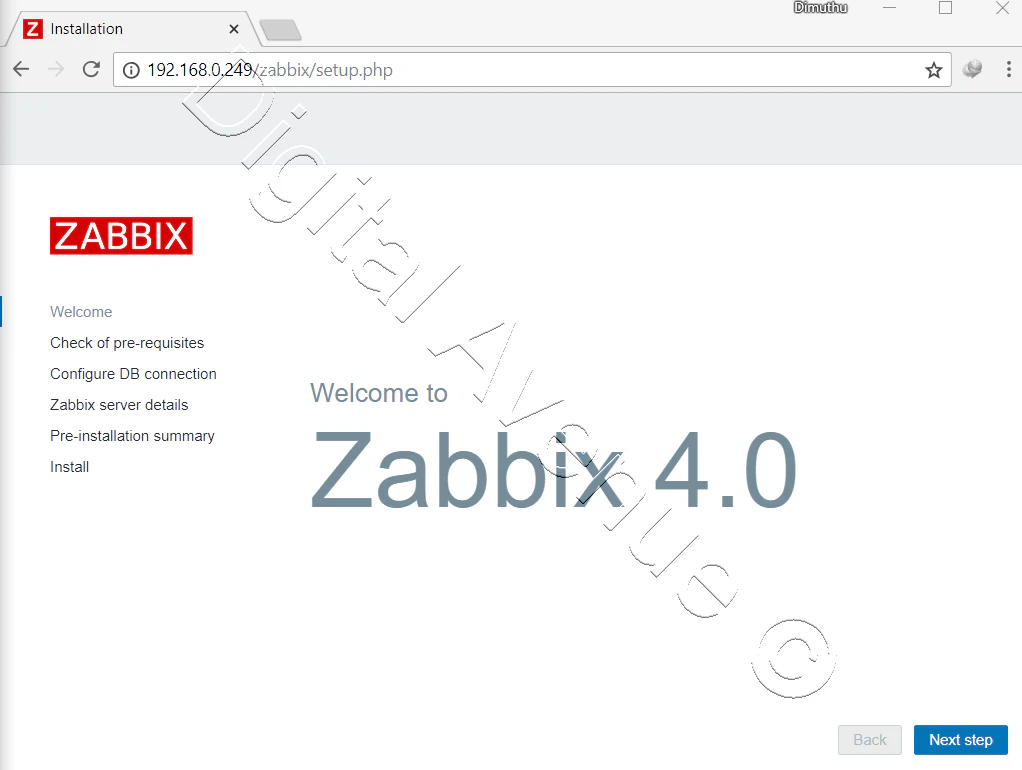
http://zabbix_server_IP/zabbix/setup.php
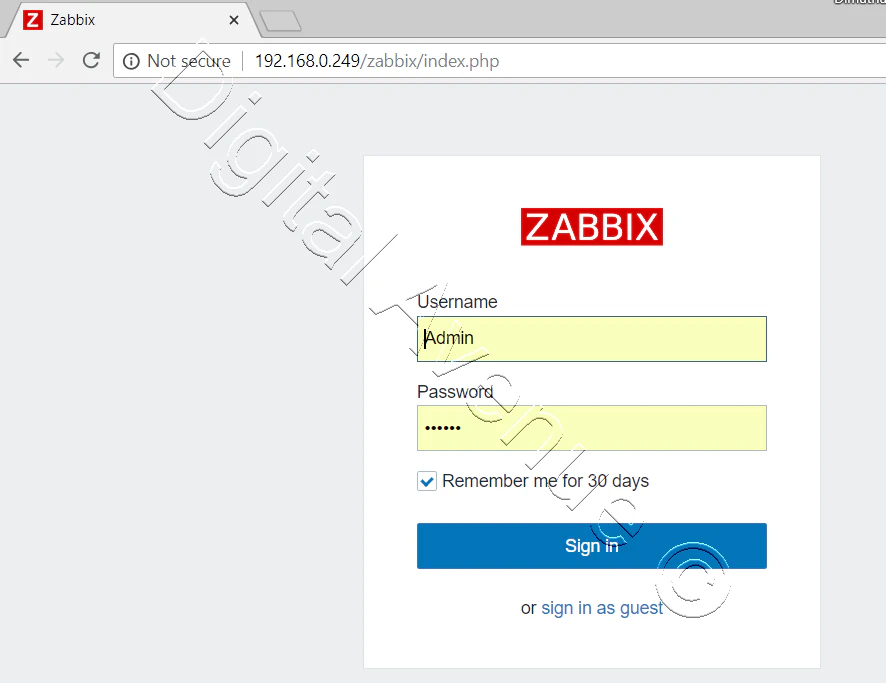
Default Zabbix Username: Admin
Default Zabbix Password: zabbix
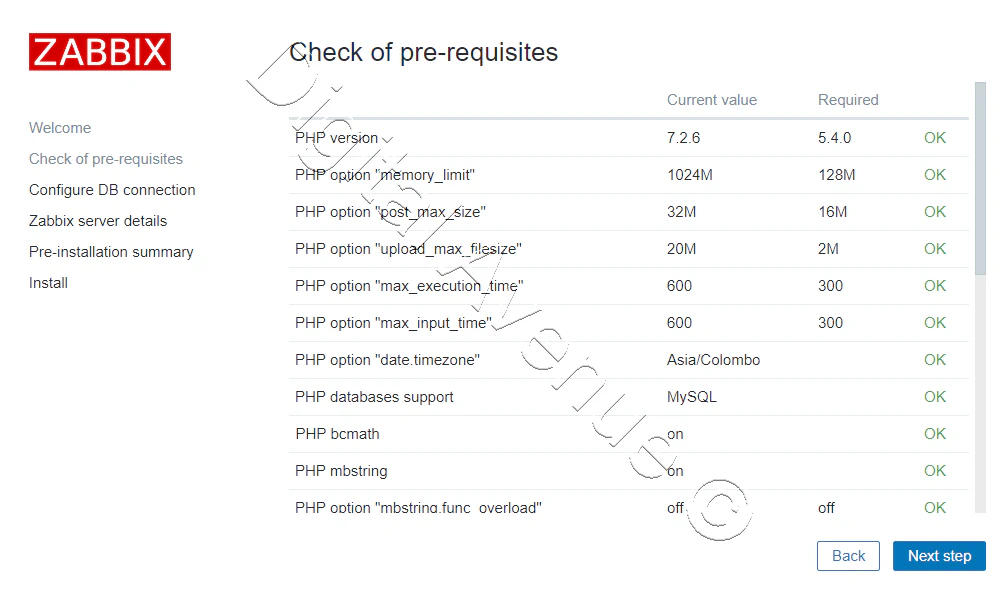
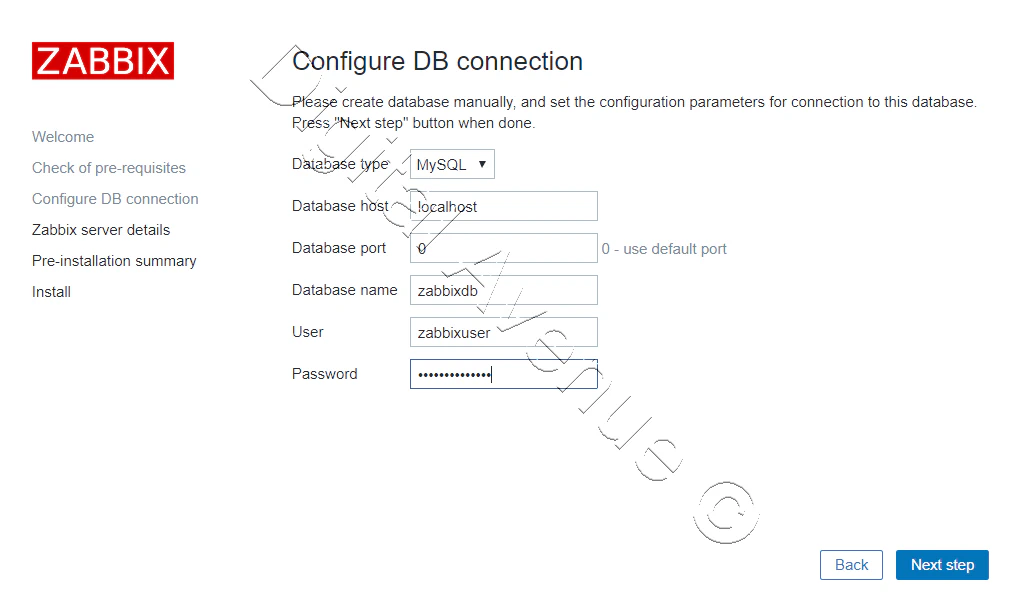
Provide the database name and username.
Little Request:
I appreciate you guys taking the time in reading my post. Please check out my YouTube channel and please subscribe for more as it’ll help me loads.
Deploy Production Grade Kubernetes Cluster on Azure AKS
Introduction This tutorial is intended to demonstrate how to setup your 1st Kubernetes cluster on Azure Kubernetes Services (AKS). This tutorial will cover up all the steps that you need to setup complete AKS cluster.
Getting Started With Docker - Quick Start Guide
Getting Started With Docker - Quick Start Guide Docker Engine Platform as a Service (PaaS) Cloud platform service. Allows you to manage its application and data.
How To Run Microsoft SQL Server On Kubernetes - Azure Kubernetes Service
Prerequisites: Azure CLI https://docs.microsoft.com/en-us/cli/azure/install-azure-cli 1. Run the Azure CLI with the az command. 1.1 Run the login command. az login Login in the browser with the azure account.
